Creating and Managing Users
Successfully manage your user base

Adrian Preston
Last Update 4 ปีที่แล้ว
Your user base will grow as your organization grows into tuddl. The web platform provides a simple way to manage your users.
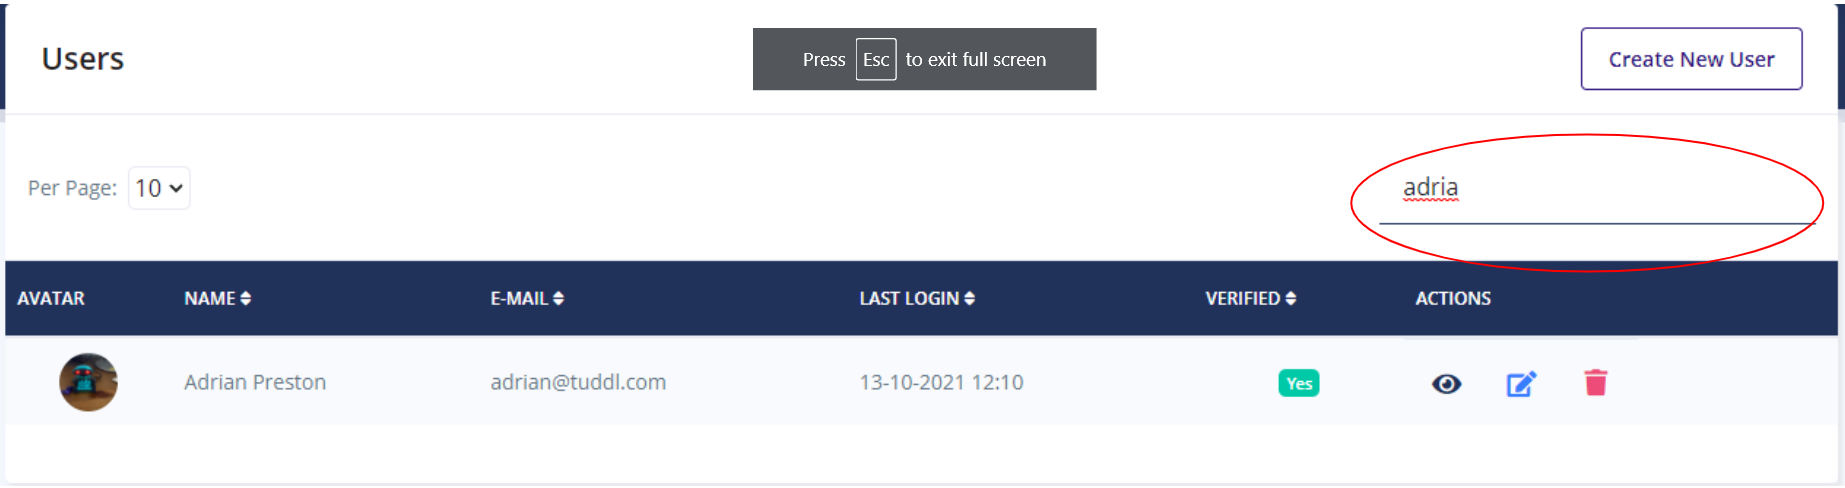
Finding a User
To find a user, simply start typing their name or email into the search box on the User screen. This will gradually narrow down the user list as you type :
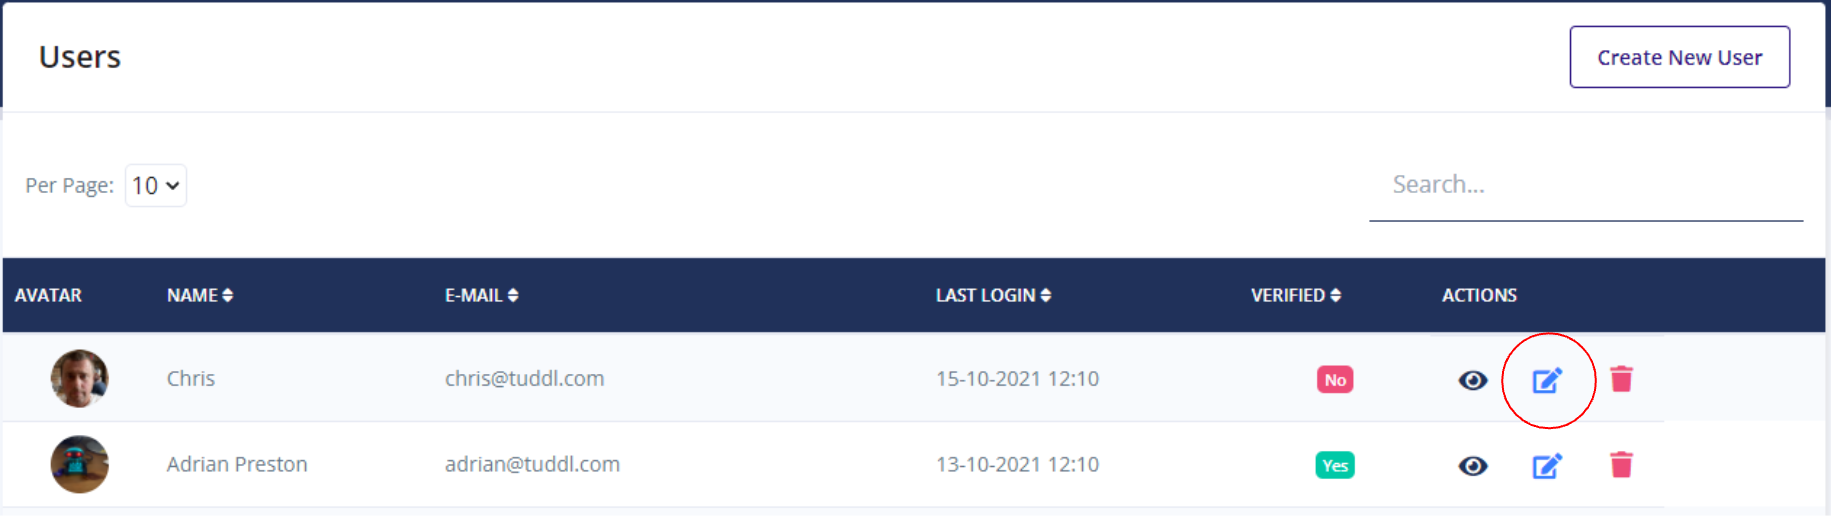
Creating and Editing a User
To create a user, simply click the 'Create New User' button at the top of the user screen. To edit an existing user, click the edit icon located on the same row as their name:
These will launch the user create/edit screen. There are several parts to this :
1. Users name, email and password
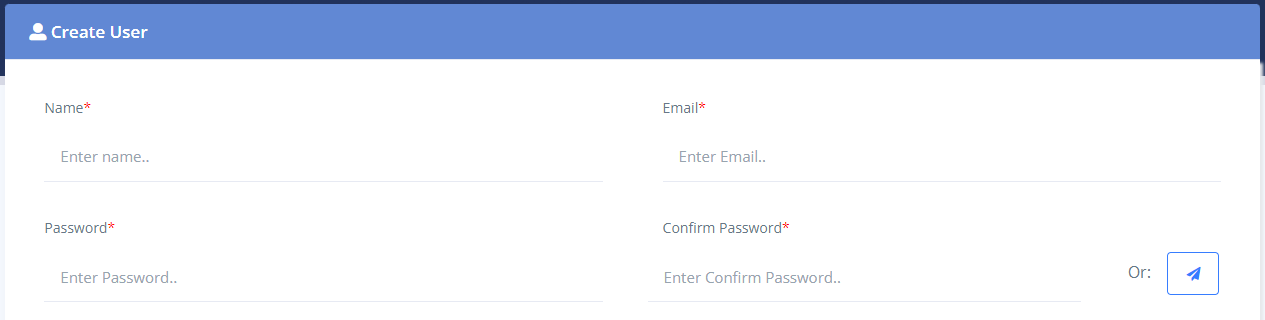
The name and email are self-explanatory. But you do have two options for creating a password for them.
Firstly, you can manually type the password into the password and confirm password box. Then email them/tell them what their new password is. However, a more secure way is to use the button on the right, a 'One Time Password'. This will create them an encrypted password that will be emailed to them when you finish.
2. User Team and Status

A User MUST always be part of a team (either a team member or team owner). If you have not yet created a team for this user, please do so before you create the user.
At this point, you can also assign the user to be the team owner for this team. If the team already has a team owner, you will be prompted as to whether you are sure.
SETTING THE USER AS A TUDDL PRO
Please read the roles help page. Users like you who are Tuddl Pros and have access to this web admin portal, or general users who only have access to the app. If you want your user to ONLY have access to the app, please make sure the 'mobile-app only' box is TICKED.
If you want the user to be a Tuddl Pro, leave the mobile app only box UNTICKED!
3. Organisation structure
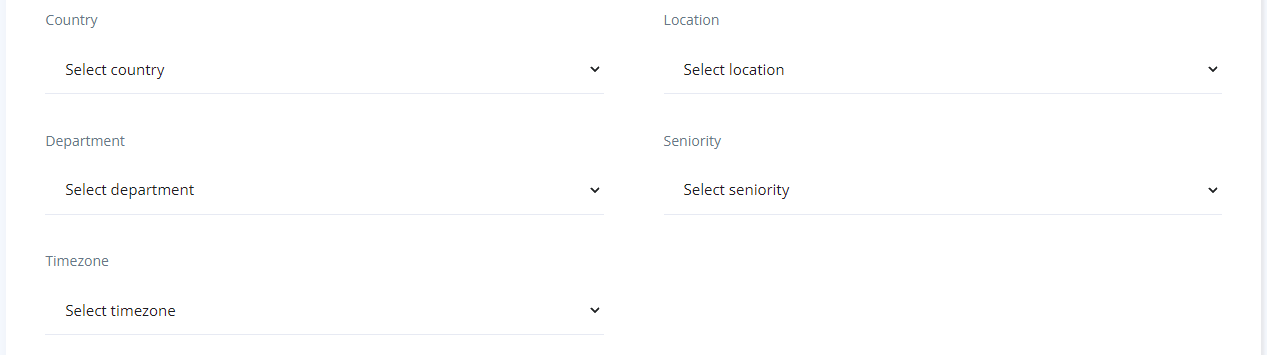
You can set your users Country, Location, Department, Seniority and Timezone. For instructions on how to set your organisation structure up, please refer to the organisational segments help page.
4. Saving Your User

At this point, you have two options.
If you have manually entered the users password, clicking the 'Create User' button will create the user in the DB, but will NOT send them an email from Tuddl with their password. You will need to tell them their password.
If you have used the One Time Password button to create the man encrypted password, then click the 'Create and Send Invite' button - this will send them an email from tuddl with directions and their new password. We recommend this.
Removing a User
You can use the Delete icon on the user page :
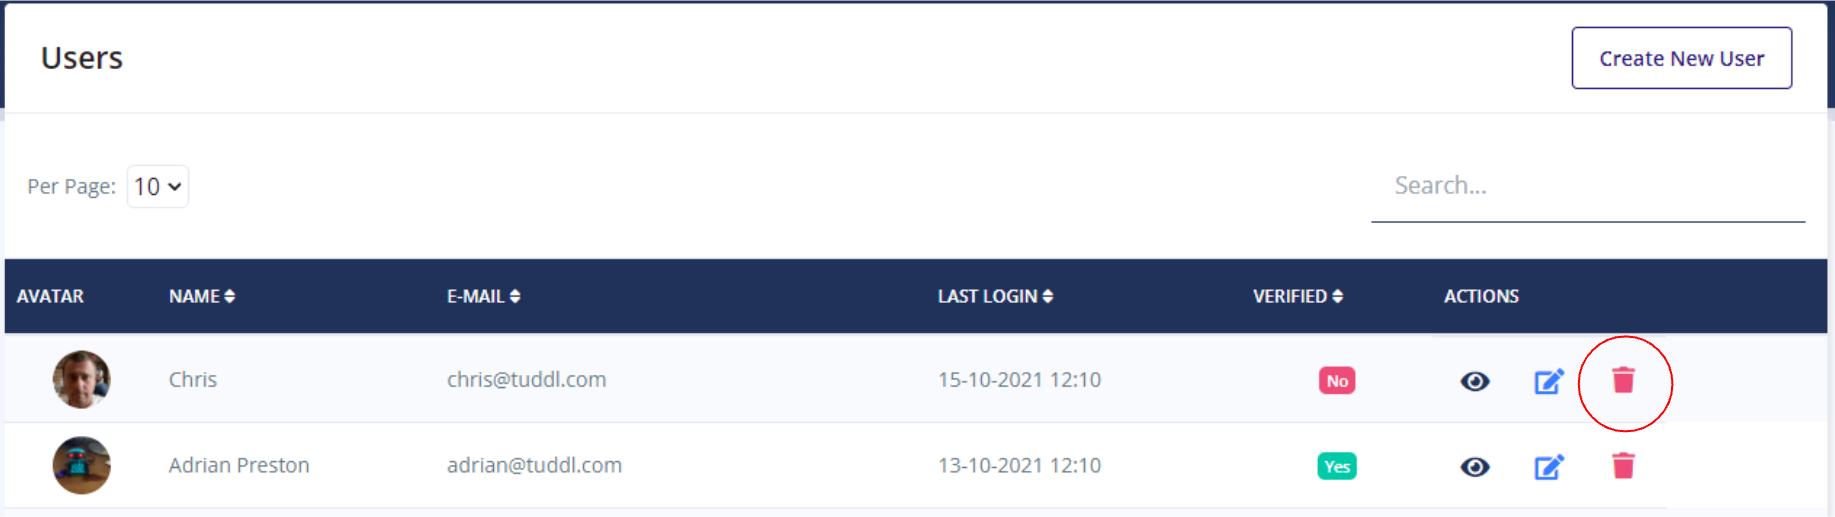
This will mark the user as deleted, but will retain their history in the database (this is important, as their history is a part of their team history and your organisation's history as a whole - if you want a user's data permanently deleted, then please contact us through support).